Poached Eggs over Avocado and Smoked Salmon

Happy Thursday friends! I hope that the week is treating everyone well! This week has gone by pretty quickly in my opinion, so that’s always a good thing. Another great thing about this week was seeing the first snow flakes of the season! If you’ve been reading this blog a while, or know me, you know I love snow, and I was so excited to see a pretty snow shower when I woke up for work earlier this week. It didn’t stick, so my boyfriend has nothing to complain about yet, haha.

Another thing he had no complaints about- this meal! He loved it so much that he requested it be regularly added to our meal plan. I have no problems with that as this was simple, healthy, delicious, and super quick to make. Smoked salmon is one of my favorite things, and it made for such a great addition to a salad. Usually I have smoked salmon on bagels with cream cheese, but this was a new and extremely delicious way to indulge in it! Yum!

Poached Eggs over Avocado and Smoked Salmon

Poached Eggs over Avocado and Smoked Salmon

Serves 4

Ingredients

1 Tbsp white vinegar

4 oz baby spinach

1 lemon (Meyer or regular)

8 oz smoked salmon

1 Hass avocado, thinly sliced

4-8 large eggs

Coarse salt and freshly ground black pepper

Directions:

1. Fill up a shallow pot with about 3-inches of water. Add vinegar. Place over high heat and bring to a boil. Lower to a simmer.

2. Put about 1 oz (1 cup)  baby spinach on each plate. Squeeze a bit of lemon juice on top and season with salt and pepper. Place 2 oz of smoked salmon on top of greens, and top with 1/4 of the sliced avocado on each plate. Squeeze a bit more lemon juice on top.

3. To poach eggs: Break an egg into a small bowl. Slip gently into the simmering water, and use a spoon to try to keep the egg whites close together. Do the same with the remaining eggs. You may need to do this in 2 batches, if using 8 eggs instead of 4. When eggs are in the water, turn off heat, cover and cook 3-4 minutes. Remove eggs with a slotted spoon, letting water drain off. Add 1 or 2 poached eggs to each plate. Sprinkle with salt and pepper.

Source: slightly adapted from Absolutely Avocados via Cookin’ Canuck

Crab Cakes

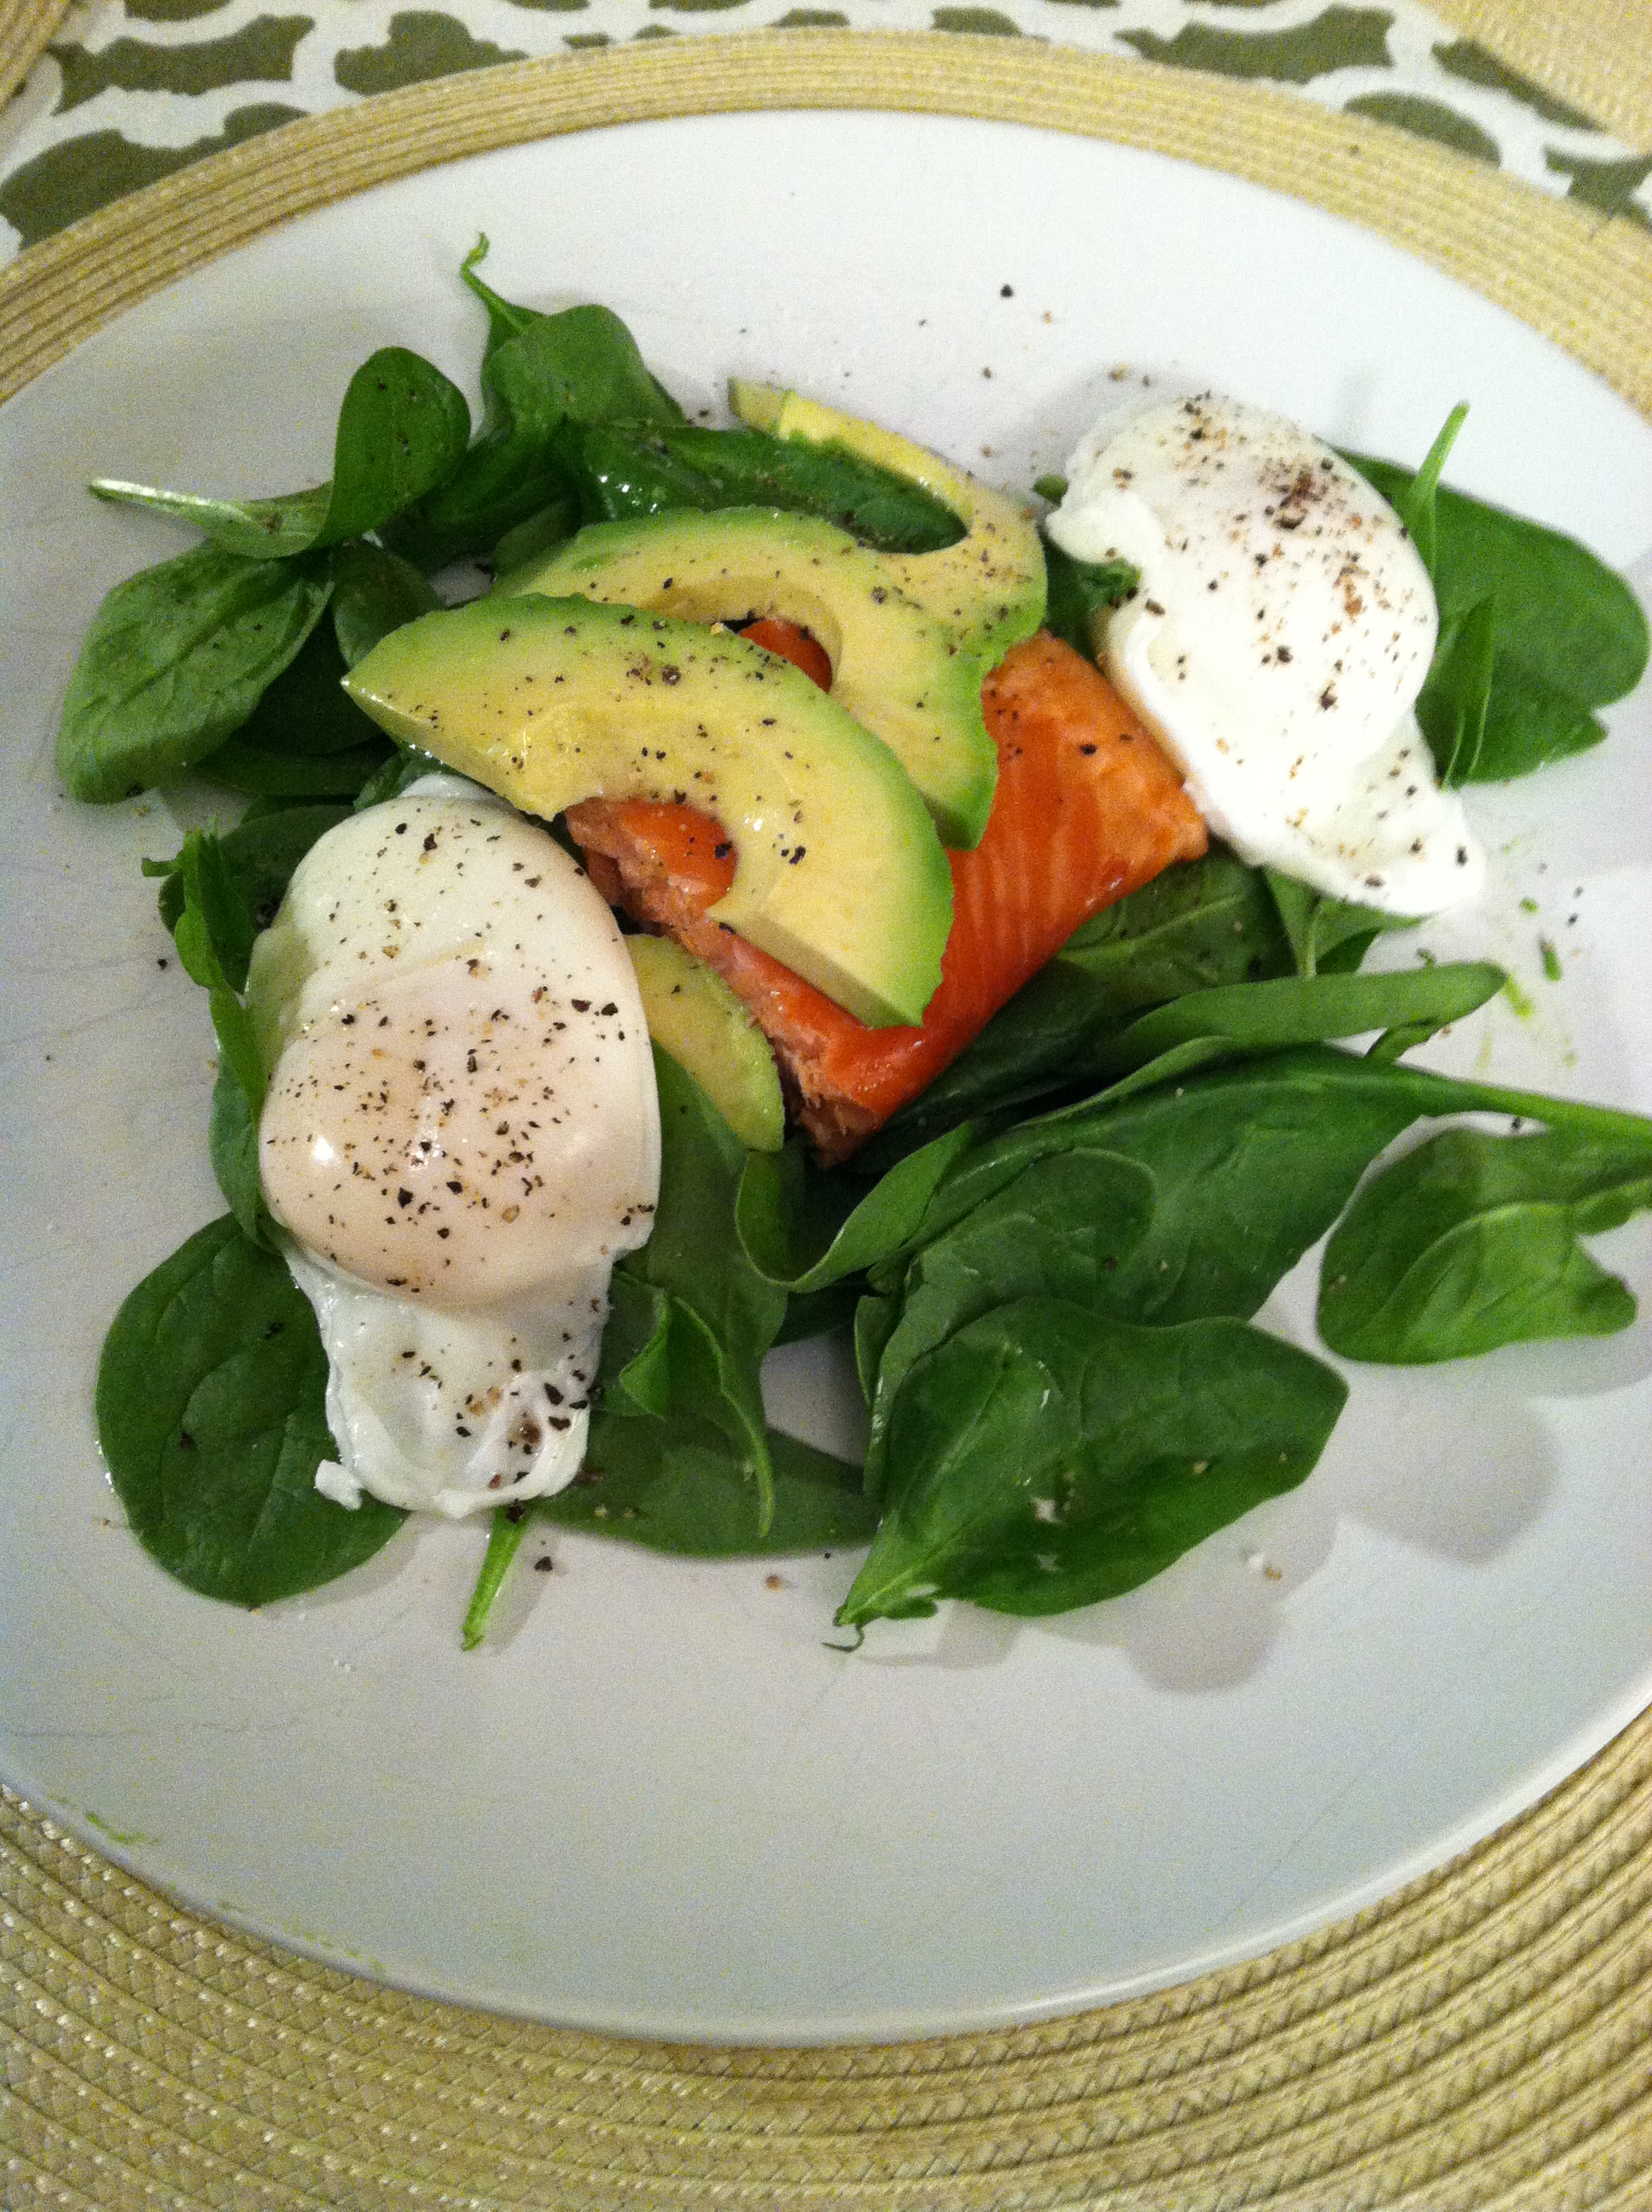
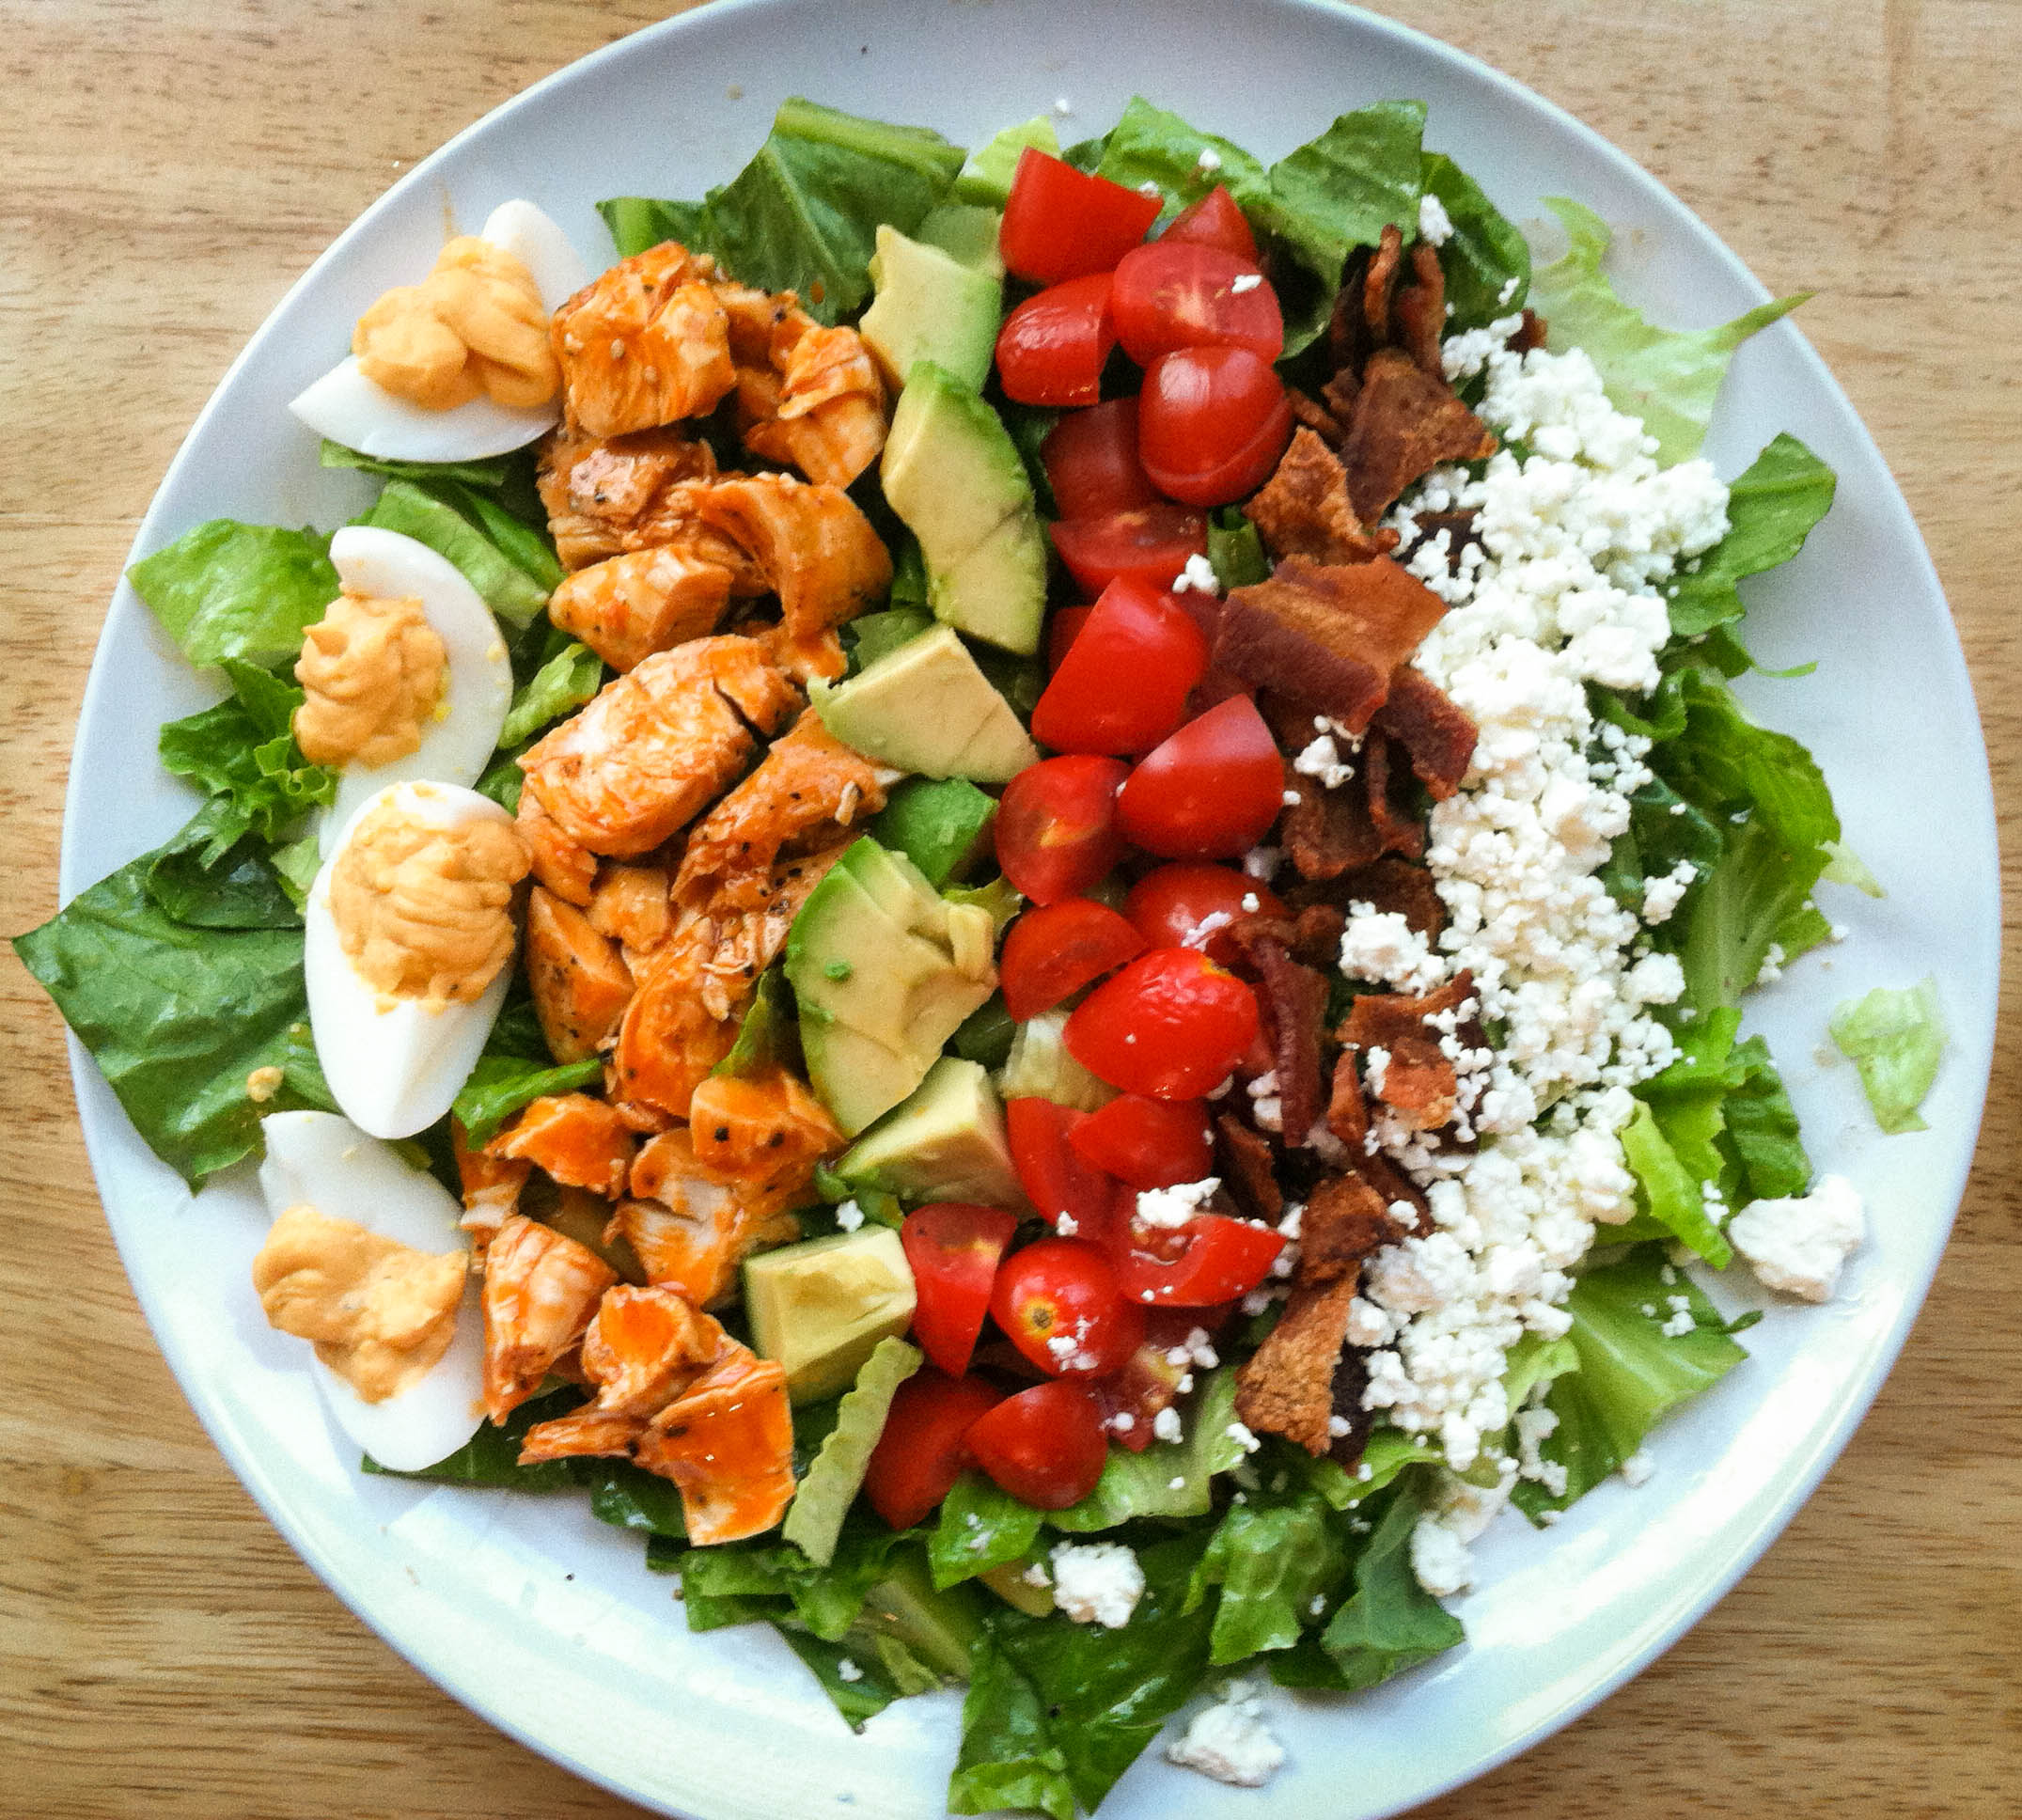
Hello everyone! Long time no see!!!! I’m so happy to be back, and I’m really hoping to be back on here regularly from now on. I have many excuses for my absense… sickness, bridal shower planning… but I really do miss this space here. I have been cooking of course- despite how busy I’ve been I would never be able to stay away from my kitchen (except during my horrible flu/cold that I had). I still haven’t finished sharing my vacation recipes. Shame on me!!! This was probably the best thing i cooked on vacation. Blue crabs are in abundance down in the Chincoteague area, and while we didn’t catch our own this year, we did buy a bunch of local crabs. The first night we just ate them as is- steamed, and then we made crab cakes and a crab frittata with the leftovers. I love that we had an abundance of crab… this is the only place I’ve ever been able to say that. At first I was going to just make veggie-filled crab cakes. My aunt Annmarie and I made the best crab and veggie cakes one year when we were vacationing on Cape Cod, and these were my attempt to make something similar. I REALLY need to get that recipe! My dad however, likes the simple crab-only crab cakes. So I decided to make both…. and then I threw some jalapenos and Old Bay into a few too. I have to say my favorite were the veggie-filled crab cakes with the inclusion of the jalapeno and Old Bay seasoning. So much flavor!!!!

Simple Crab Cakes

Makes about 8-10 small crab cakes

Ingredients:

1 lb lump crab

1/2 cup cracker crumbs (I used Trader Joe’s Mulitgrain crackers- you could use those, ritz, or a similar type of crackers)

1 egg

2-4 Tbsp Mayonnaise

2 tsp Dijon mustard

1/2 Jalapeno pepper, seeds and ribs removed, finely diced (optional)

1 tsp Old Bay Seasoning (optional)

Salt and pepper

2 Tbsp canola oil, more if needed (or other higher heat oil)

Directions:

1. In a large bowl, whisk together the egg, mayonnaise(start with the smaller amount) and Dijon. Add the crab meat, cracker crumbs, jalapeno and Old Bay (if using) and season with salt and pepper, and gently mix together.

2. Carefully form your crab cakes. If they are having a hard time staying together you can add more mayo as needed. It helps if you wet your hands slightly. Place on a plate, and refrigerate for at least half an hour (this will help them firm up).

3. Place a large skillet over medium heat. Add a tablespoon of canola oil. When hot, add your crab cakes, making sure not to crowd the pan. You will have to fry them in 2 or 3 batches. Cook 4-5 minutes per side, until browned. Add additional oil to pan as needed between batches.

Source: Original recipe, but inspired by many recipes around the web

Vegetable Filled Crab Cakes

Makes about 10-12 small crab cakes

Ingredients:

1/4 red pepper, finely diced

1/4 green pepper, finely diced

1/4 summer squash, grated

1/4 red onion, finely diced)

1 Tbsp olive oil or butter

1 lb lump crab meat

1/2 cup cracker crumbs, crushed (I used Trader Joe’s Mulitgrain crackers- you could use those, ritz, or a similar type of crackers)

1 egg

2-4 Tbsp Mayonnaise

2 tsp Dijon mustard

1/2 Jalapeno pepper, seeds and ribs removed, finely diced (optional)

1 tsp Old Bay Seasoning (optional)

Salt and pepper

2 Tbsp canola oil, more if needed (or other higher heat oil)

Directions:

1. Place a medium skillet over medium heat. Add olive oil or butter. When hot, add the bell peppers, summer squash and red onion. Season with salt and pepper to taste, and saute until softened, about 5-10 minutes, stirring occasionally. Set aside to cool.

2. In a large bowl, whisk together the egg, mayonnaise(start with the smaller amount) and Dijon. Add the crab meat, cracker crumbs, jalapeno and Old Bay (if using), sauteed vegetables and season with salt and pepper, and gently mix together.

3. Carefully form your crab cakes. If they are having a hard time staying together you can add more mayo as needed. It helps if you wet your hands slightly. Place on a plate, and refrigerate for at least half an hour (this will help them firm up).

4. Place a large skillet over medium heat. Add a tablespoon of canola oil. When hot, add your crab cakes, making sure not to crowd the pan. You will have to fry them in 2 or 3 batches. Cook 4-5 minutes per side, until browned. Add additional oil to pan as needed between batches.

Source: Original recipe, but inspired by many recipes around the web, and my Aunt Annmarie’s Crab Cakes

Banana Bread

Banana Bread

Oh, how I love banana bread. It’s such a comfort food. It’s one of the things my mom would bake regularly for us growing up, and she was always, and still is always trying out new banana bread recipes. There are just so many out there to try… you could probably make a new one every week for a year or a few, and still not run out, and based on the amount of bananas I have in my freezer, I might just be able to do that 🙂 I love to try new recipes as well, but my favorite banana bread will always be the simple one- unadorned with chocolate chips, or candied ginger, or seeds, or nuts. This classic banana bread recipe from The Moosewood Cookbook is just my cup of tea. I did make a couple of adjustments (leaving out the sesame seed coating, opting out of the addition of nuts and orange zest, reducing the sugar slightly, and adding a bit of espresso powder), but I stayed pretty true to the classic. The addition of coffee adds a little depth, but not overwhelming coffee flavor, and also adds to the moisture level. I love that half the flour is whole wheat (I used white whole wheat for a subtler flavor), so that I can feel a little better about eating this… that said, this is definitely a treat- I mean, look at the amount of butter! This is certainly not a health food 🙂 This does make an excellent breakfast treat every once in a while though, a great mid-day snack, and even a great dessert. I’m sure this won’t be my first and last banana bread recipe on this blog, because I have inherited my mom’s desire to try out every banana bread recipe known to man, but this is a great one that I will come back to again and again.

Banana Bread

Banana Bread

Makes 1 loaf

Ingredients:

3/4 cup (12 Tbsp) unsalted butter, melted and cooled a bit

3/4 cup brown sugar

2 eggs, room temperature

1 1/2 tsp vanilla extract

1/4 tsp almond extract

1 cup white whole wheat flour

1 cup all-purpose flour

1/2 tsp salt

1/4 tsp baking soda

1 1/2 tsp baking powder

1/4 tsp nutmeg

1 tsp ground cinnamon

1 tsp espresso powder

1 cup ripe banana, mashed (about 2 bananas)

1/2 cup strong, black coffee

Directions:

1. Preheat the oven to 350 degrees. Butter a loaf pan.

2. In a small bowl, combine the mashed banana and coffee.

3.  Add the melted butter and brown sugar to a large bowl, and whisk together. Add the eggs, one at a time, whisking after each addition. Add the vanilla, and whisk together. Beat until a little lightened in color.

4. In another bowl, add the whole wheat flour, all-purpose flour, salt, baking soda, baking powder, spices and espresso powder. Mix or sift together until well blended.

5. Alternate adding the banana mixture, and the flour mixture to the butter-sugar mixture. I added about a third of each mixture at a time. Mix gently after each addition, until all is added, and the mixture is combined. Don’t mix too aggressively, or the bread will toughen.

6. Pour the batter into the prepared loaf pan, pop in the oven and bake for 40-50 minutes, until a toothpick inserted into the bread comes out clean. Remove from oven, let rest in pan for 10 minutes, the remove from pan to a wire rack to finish cooling.

Source: barely adapted from the Moosewood Cookbook

Here are some other banana bread recipes I would love to try out:

Banana Oatmeal Bread from Serious Eats

Crackly Banana Bread from Smitten Kitchen

Jacked-Up Banana Bread from Smitten Kitchen

Banana Bread with Cinnamon Crumble Topping from Orangette

Banana-Coconut Bread from Orangette


Fresh Corn Pancakes

These are my favorite pancakes in the whole world. Decadent, buttery and bursting with the flavor of corn, they are perfect for the summer as a breakfast, or a side dish. You can serve them with maple syrup, sour cream and salsa, topped with more butter, or just plain (which is how I like them). They are definitely a treat, and I do want to find a healthier version of corn pancakes or fritters that I can eat more often, but every once in a while, you need some decadence in your life. These do use quite a few dishes, but they are quite easy to make, and other than the corn, which you’ll want to pick up fresh, the remaining ingredients are probably already in your pantry and refrigerator.

Fresh Corn Pancakes

Fresh Corn Pancakes

Serves 4 (Makes about 12 pancakes)

Ingredients:

1 cup all-purpose flour

4 tsp baking powder

1 Tbsp sugar

3-4 ears of corn (enough to measure 2 cups of kernels)

3/4 cup whole milk

2 large eggs

2 Tbsp vegetable oil

1 stick unsalted butter, melted and cooled

Directions:

1. Add the flour, baking powder and sugar to a large bowl and whisk together.

2. Cut off kernels from corn, until you have 2 cups. Scrape the pulp from the corn cobs with the back of your knife, and add it to your blender. Add the milk and 1/2 cup of the corn kernels to the blender with the pulp, and blend until smooth. Strain the corn/milk mixture through a fine mesh strainer or cheesecloth into a separate medium bowl. Add the eggs, vegetable oil, and cooled butter to the corn/milk mixture and whisk together.

3. Add the corn/milk mixture to the bowl with the flour and add the remaining corn kernels as well. Whisk together, just until combined.

4. Heat a large heavy pan, nonstick skillet, or griddle over medium-heat until hot. Grease with oil, and cook pancakes in batches, using 1/3-cup batter per pancake. Cook about 2 minutes on first side (until bubbles appear on the surface, and the bottom is golden-brown). Flip and cook another minute on the other side. Grease between batches if needed. Serve with desired accompaniments.

Source: Gourmet Magazine, July 2009

Buffalo Chicken Cobb Salad with Buffalo Deviled Eggs

We’ve made it halfway through the week guys!! Aren’t you excited?! I know I am… but I’ll be even happier when tomorrow is over. The hardest days of my week are always Tuesday and Thursday, and I always feel such a sense of relief when Thursday is done with. If only there was a way to fast-forward through the work day… but alas, that has not been invented yet. I discovered something this week though that is making the work week infinitely better, and that is the amazing fact that you can watch “Are You Afraid of the Dark?” on Amazon instant watch… for free if you are an Amazon Prime member. Oh yes, this was one of my favorite childhood shows, and it is still extremely entertaining. We didn’t have cable until I was in middle school, so when we would visit my Grandparents, one of the things I looked forward to was watching Nickelodeon, and the show I most looked forward to (and always wished would be on) was “Are You Afraid of the Dark?” That and “Clarissa Explains It All” were my two top shows I loved as a kid… and incidentally, “Clarissa Explains It All” is available to watch as well. My life might just be complete now!!! Oh, and they have “Hey Dude”…. now if only they would add “The Secret World of Alex Mack”.

Buffalo Chicken Cobb Salad with Buffalo Deviled Eggs

So now that you’ve waxed nostalgic over old Nickelodeon shows with me, it’s time for the recipe! When I saw this buffalo chicken Cobb salad over on Iowa Girl Eats it screamed for me to make it because as you know,  I love all things buffalo. This is a great way to add excitement to a salad, and an awesome variation on the classic Cobb salad. I love the addition of the buffalo deviled eggs, and they would be great on their own as well for an appetizer! This is also a boyfriend-approved salad, so like the classic Cobb salad, make this if you are trying to get more vegetables into your significant other!

Buffalo Chicken Cobb Salad

Serves 4

Ingredients:

2 (6-oz) boneless, skinless chicken breasts, trimmed

1/4 buffalo wing sauce (I used Frank’s)

Salt and pepper

4 slices bacon, cooked until crisp, and crumbled

1 large head romaine lettuce, shredded

1 cup grape tomatoes, halved

1 ripe avocado, pitted, peeled and cut into 1/2-inch dice

1/2 cup feta cheese, crumbled

Ranch dressing (optional)

For buffalo deviled eggs:

4 large eggs

1 1/2 Tbsp ranch or blue cheese dressing

1 Tbsp buffalo sauce

Directions:

1. To make buffalo deviled eggs: Place eggs in medium saucepan, and cover with water by 1-inch. Bring to a boil over high heat. When vigorously boiling, turn off heat, and let eggs sit for 15-18 minutes*. Drain, run under cold water until you can handle them. Peel the eggs, and remove the yolk to a small bowl. Add the ranch or blue cheese dressing and the buffalo sauce to the yolks, and mash together until smooth. Cut the egg whites in half again, so that you have quarters, and stuff with the egg yolk mixture. I like to put my egg yolks in a ziplock bag, snip a small hole at the end, and pipe the filling into the eggs. *If you have your own foolproof method for making hard-boiled eggs, please feel free to use that instead of this method 🙂

2. To make the chicken: Preheat broiler, place oven rack 6-inches from top. Line a baking sheet with aluminum foil, and spray with cooking spray. Season chicken with salt and pepper, and place on baking sheet. Broil for 4-8 minutes until lightly browned. Flip chicken over, and broil for 6-8 minutes more, until chicken is fully cooked. Let cool until they can be handled. Chop into 1/2-inch cubes place in medium bowl. Mix with buffalo sauce.

3. To assemble salad: To assemble salads, place a serving of lettuce on each plate, and then arrange the buffalo chicken, deviled eggs, bacon, cheese, avocado, and tomato on top of the lettuce in rows. Drizzle ranch dressing on top if desired.

Source: barely adapted from Iowa Girl Eats and my Chicken Cobb Salad

Oreo Cheesecake Squares

Oreo Cheesecake Squares

Cheesecake is my favorite dessert ever! It’s what I always request for my birthday cake, and I’ve never had one I haven’t enjoyed. I think the classic New York cheesecake (which I’ve never made myself) will always be my favorite, but I love all variations that I’ve tried. I’ve been wanting to make this Oreo version for a long time now (probably a couple of years at least), and I finally decided to go for it, when I brought dessert over to my parent’s house for Memorial day. I brought these, along with the Whole Lemon Squares, because I knew my boyfriend wouldn’t eat the Lemon Squares, and because one can never have too many desserts, right?  These were rich, and delicious, and were a big hit. I told Ron to bring the leftovers to work, but he loved them so much that he hoarded most of them for himself. Mine did crack on the top a bit, but that’s just a normal characteristic of cheesecake, and honestly that doesn’t bother me, as long as it tastes good!

Oreo Cheesecake Squares

Oreo Cheesecake Squares

Makes 9-16 squares, depending on how large you want yours!

Ingredients:

For the crust:

23 Oreo cookies

2 Tbsp unsalted butter, melted

For the cheesecake:

12 oz cream cheese, at room temperature

6 Tbsp sugar

6 Tbsp sour cream, at room temperature

1/2 tsp vanilla extract

1/4 tsp salt

1 large egg, plus 1 egg yolk

12 Oreo cookies, roughly chopped

Directions:

1. Preheat oven to 325 degrees. Line an 8×8 baking dish with aluminum foil.

2. For the crust: Put the Oreo cookies in a food processor, and process until finely ground. Add the melted butter, and pulse a few times until the crumbs are moistened. Pour into your prepared baking dish, and press down firmly to create an even crust layer. Bake for 10 minutes, and then remove pan from oven, and set aside, leaving the oven on.

3. For the filling: Fit your electric mixture with the paddle attachment, and add the cream cheese. Beat for about 2 minutes on medium-high speed, until light and smooth. Add the sugar, and mix until well-combined. Add the sour cream, vanilla and salt, and mix until combined. Add the egg and egg yolk, and beat on medium-high speed until combined. Scrape down the sides of the bowl as needed. Add the chopped Oreos, and mix together with a rubber spatula.

4. Pour the cheesecake filling into the prepared baking pan (on top of the crust), and smooth the top to make it even. Bake for about 40-45 minutes, until set around the edges, but slightly wobbly in the center. Let cool on a wire rack (in pan), for about an hour, and then cover and refrigerate for at least 3 hours, until well-chilled.

5. To cut, use tinfoil to help remove bars from baking dish, and cut into desired amount of pieces. (Refrigerate until ready to serve, and also refrigerate any leftovers.)

Source: Annie’s Eats

Chicken Cobb Salad

Do you ever feel like you need to get some vegetables into your body, stat?! I do! Especially after many indulgences in a row, my body just craves veggies! This is a great way to incorporate vegetables into a meal in a guy-friendly way. I think a hearty salad that has the good stuff, but also some chicken, bacon and cheese is the perfect way to get my boyfriend to eat his vegetables, and be happy about it!  This classic salad was so tasty, and also very beautiful looking! Of course, when you eat it it becomes jumbled like any normal salad, but at least for a couple of minutes it looks so orderly and elegant! … and now I’m really inspired to try some other variations on the Cobb salad like this one, this one and this one.

Chicken Cobb Salad

Chicken Cobb Salad

Serves 4

3 Tbsp red wine vinegar

2 Tbsp olive oil

1 tsp Dijon mustard

2 (6-ounce) boneless, skinless chicken breasts, trimmed

4 slices bacon, cooked until crisp, and crumbled

2 hard-boiled eggs

1 large head romaine lettuce, shredded

1/2 ripe avocado, pitted, peeled and cut into 1/2-inch dice

2 plum tomatoes, cut into 1/2-inch dice

3 ounces feta cheese, crumbled

Coarse salt and freshly ground black pepper

Directions:

1. Preheat broiler, place oven rack 6-inches from top. Line a baking sheet with aluminum foil, and spray with cooking spray. Season chicken with salt and pepper, and place on baking sheet. Broil for 4-8 minutes until lightly browned. Flip chicken over, and broil for 6-8 minutes more, until chicken is fully cooked. Let cool until they can be handled. Chop into 1/2-inch cubes and set aside.

2. In a small bowl, whisk together the vinegar, olive oil, dijon mustard, and salt and pepper to taste. Toss the lettuce with the dressing.

3. To assemble salads, place a serving of lettuce on each plate, and then arrange the chicken, eggs, bacon, cheese, avocado, and tomato on top of the lettuce in rows.

Source: adapted from The Cook’s Illustrated Cookbook and Everyday Food: Great Food Fast


Whole Lemon Bars

Whole Lemon Bars

One of my favorite desserts in the world are lemon bars. I know this is shocking, because they don’t contain any chocolate, but I just love the sweettartness (yep, that’s definitely a word) of them, and I love the contrast between the shortbread crust and the creamy lemon topping. My grandmother makes the best lemon bars I’ve ever eaten, and I really do need to make those myself at some point… but, when I saw this recipe in The Smitten Kitchen Cookbook I was intrigued by the idea of using an entire lemon in a dessert (peel, pith and all), and so I decided I just had to make them, and leave the other lemon bar recipe for another time. These really were simple and delicious. I do still consider my grandmother’s lemon bars my favorite, but these were also great. It really is amazing to me that you can slice up a lemon, puree it with a few other ingredients, and come away with this awesome lemony filling. I found these to be a little sweeter than my grandmother’s lemon bars (I have to say that I really love the tartness of hers), and I can’t assess the ease factor compared to her recipe as I haven’t made them myself, but I can say that these were hardly any work at all, and since you make both the crust and filling in the food processor, it hardly dirties any dishes, which is always a plus in my book.

Whole Lemon Bars

Whole Lemon Bars

Makes 16 2-inch bars

Ingredients:

For crust:

1 cup (125 grams) all-purpose flour

1/3 cup (65 grams) sugar

1/4 tsp table salt

8 Tbsp (115 grams or 1 stick) unsalted butter, cut into chunks, plus extra for greasing pan

For filling:

1 small-to-medium-sized lemon (about 4.5 oz or 130 grams, or about 3 inches long)*

1 1/3 cup (265 grams) sugar

8 Tbsp (115 grams or 1 stick) unsalted butter, cut into chunks

4 large eggs

2 Tbsp (15 grams) cornstarch

1/4 tsp table salt

For topping:

Confectioner’s Sugar (optional)

Directions:

1. Preheat oven to 350 degrees. Place rack in middle of oven. Line a 8×8-inch baking pan with parchment paper, and butter the parchment paper lightly.

2. To make the crust, add the flour, butter, sugar and salt to a food processor, and pulse until the mixture is powdery, but will hold together when pinched firmly. Pour the crumbs into the prepared baking dish, and press down firmly to create an even crust. Press so that the crust goes about 1/2-inch up the sides of the pan. Poke holes in the crust with a fork. Bake for about 20 minutes, until the crust is lightly browned.

3. Meanwhile, to make the filling, *first cut the lemon in half, and measure the skin of the lemon. If any part of it is thicker than 1/4-inch across, remove and discard the skin from half  of the lemon. If the skin is less than 1/4-inch thick, you are good to go! Cut the lemon into thin slices, and add to the food processor (yes- skin, pith and all!). Add the sugar, and run the food processor for about 2 minutes, until the lemon is pureed. Add the butter and process until smooth- scrape down the sides of the bowl if needed. Add the eggs, cornstarch, and salt, and pulse until combined.

4. Pour the lemon mixture into the baking dish (over the baked crust). Bake for 35-40 minutes until the filling is set, and the top is beginning to get light brown. The bars should jiggle just slightly when finished.

5. Cool on a rack, or in the fridge. When completely cool, use parchment paper to help remove the bars from the pan, and cut into 16 squares. Sprinkle lightly with confectioners’ sugar if desired. I like to eat these best when they are cold.

Source: The Smitten Kitchen Cookbook

P.S. Have you seen the Pink Lemonade Bars on Deb’s blog?! I must try those this summer!

BBQ Chicken Meatball Sliders

BBQ Chicken Meatball Sliders

A couple weeks ago my best friend and I got together for a little horror movie watching and cooking (a couple of our favorite activities). We made a few treats for the horror-themed blog we write together, check it out here! We decided to watch Friday the 13th, and made a few delicious recipes to go along with the movie. While perusing recipe ideas for our dinner and a movie night, I came across these BBQ chicken meatball sliders and while we ultimately decided on making some awesome chicken parm sliders instead, I still wanted to try out this recipe, especially since we had just been gifted some Texas barbecue sauce and smoked cheddar cheese by Ron’s grandparents. These sliders turned out wonderfully! The smokiness of the barbecue sauce was especially good with the smoked cheddar cheese. They were great for a dinner, but would be an awesome appetizer to serve as well. Wouldn’t a make-your-own slider bar be a fun idea for a party? After making a couple recipes for these little sandwiches, I’ve gotta say I’m hooked.

BBQ Chicken Meatball Sliders

BBQ Chicken Meatball Sliders

Makes about 16 meatballs

Ingredients:

1 lb ground chicken

2 large cloves garlic, minced

1 large egg

1/2 cup dried breadcrumbs

1/2 tsp chili powder or chipotle chile powder

1/2 tsp smoked paprika

1/2 tsp salt

Freshly ground black pepper

1 cup barbecue sauce

1/2 small onion, minced

1/4 cup vegetable oil

To assemble:

Slider rolls, toasted

Shredded cabbage or lettuce

Grated cheese (I used smoked cheddar)

Tomato slices (optional)

Pickles (optional)

Directions:

1. Mix together the ground chicken, garlic, egg, breadcrumbs, chili powder, smoked paprika, salt and black pepper in a large bowl, until combined.

2. Form meatballs, by rolling 1-2 tbsp of the chicken mixture into balls.

3. Set a large skillet over medium-high heat and add the oil. When the oil is heated, add the meatballs and brown on all sides. This will take about 5 minutes total.

4. Remove the meatballs to a plate, and set aside.

5. With the skillet still on medium-high heat, add the onion, and saute a few minutes until translucent. Add the meatballs back to the pan, and then add the barbecue sauce. You can add about 1/2 cup water if the sauce is too thick.

6. Bring the sauce to a simmer, lower the heat to medium-low, cover, and simmer for about 15-20 minutes until the meatballs are cooked through.

7. Assemble sliders by placing on a slider roll and adding toppings of your choice.

Source:chickenrecipebox.com

Carrot Cupcakes with Molasses-Cream Cheese Frosting

My mom’s birthday was a little less than a month ago, and to celebrate we had a small family gathering at my parent’s house. I was in charge of dessert! I immediately thought of carrot cake when I started thinking about what I wanted to bring, because my mom is a fan of such cakes as carrot and applesauce cake. The first cake I thought about making was a layered carrot cake that I remembered seeing in an issue of Cook’s Country last year, but since not everyone in my family is a fan of carrot cake, I wanted something that would be a little smaller scale. When perusing one of my favorite cookbooks (Gourmet Today) for ideas I came across these cupcakes, and my mind was made up right then and there. Having not only shredded carrots, but also toasted walnuts and coconut, these cupcakes were really delicious and interesting. The coconut adds a subtle flavor, and because the walnuts are finely chopped, they don’t intrude in the cupcakes, but lend a nice nutty note. The molasses-cream cheese frosting complemented these perfectly, and added even more interest. These would be great with a classic cream cheese frosting as well, but I loved the flavor that the molasses added- I love molasses so much I could eat it by the spoonful! 

Carrot Cupcakes with Molasses-Cream Cheese Frosting

Carrot Cupcakes

Makes 12 Cupcakes

Ingredients:

1 1/2 cups all-purpose flour

1 tsp baking soda

1/4 tsp salt

1 1/2 tsp ground cinnamon

1/2 tsp freshly grated nutmeg

3/4 cup vegetable oil

1 cup packed light brown sugar

2 large eggs

1/2 tsp vanilla extract

1 3/4 cup finely shredded carrots (about 4-5 medium)

1/3 cup walnuts, finely chopped and lightly toasted*

1/2 cup sweetened, flaked coconut, lightly toasted**

Directions:

1. Preheat oven to 350 degrees. Line a muffin tin with paper liners.

2. Add the flour, baking soda, salt, cinnamon and nutmeg to a medium bowl, and whisk to combine. In a separate large bowl, whisk together the oil, brown sugar, eggs and vanilla. Add the flour mixture to the oil-sugar mixture, and stir together with a wooden spoon until combined. Add the carrots, walnuts, and coconut and stir until just combined.

3. Divide the batter evenly in the muffin tin. The batter will fill them up about 3/4 of the way. (I like to use a large cookie scoop when placing the batter in the tins). Bake about 25-30 minutes, until a toothpick placed into a cupcake comes out cleanly. Remove the cupcake from the tin, and let cool completely on a wire rack. Frost when completely cool.

*To toast walnuts, spread on a baking sheet and toast in a 350 degree preheated oven for 5-15 minutes, until golden brown and aromatic.

**To toast coconut, spread on a baking sheet and toast in a 350 degree preheated oven for 10-12 minutes, stirring occasionally, until golden.

Molasses-Cream Cheese Frosting

Makes enough to frost 12 cupcakes

Ingredients:

4 ounces cream cheese, softened

1/2 stick (4 Tbsp) unsalted butter, softened

1 Tbsp molasses (not robust)

2 Tbsp confectioners’ sugar, sifted

Directions:

1. Place all ingredients into a medium bowl, and beat with a wooden spoon until well combined, and fluffy.

Source: Gourmet Today

By the way, the other dessert I brought was a chocolate-stout bundt cake (using this recipe, and baking at 350 degrees for 35-45 minutes- from Smitten Kitchen)

Chocolate-Stout Bundt Cake